Everything You Need To Know About Floor Sanding
Floor sanding is an essential process for maintaining the beauty and longevity of wooden floors. Whether you have a hardwood floor in your home or a commercial space, proper sanding can restore its appearance and protect it from damage. In this blog post, we will explore everything you need to know about floor sanding, from the benefits to the process and the importance of hiring professionals.
Understanding The Basics Of Floor Sanding
Floor sanding is a technique used to remove the top layer of a wooden floor, revealing a fresh, smooth surface underneath. It involves using specialised equipment and abrasive materials to sand away imperfections, scratches and old finishes. The process helps to restore the floor's natural beauty and prepare it for refinishing or sealing.
Benefits Of Floor Sanding
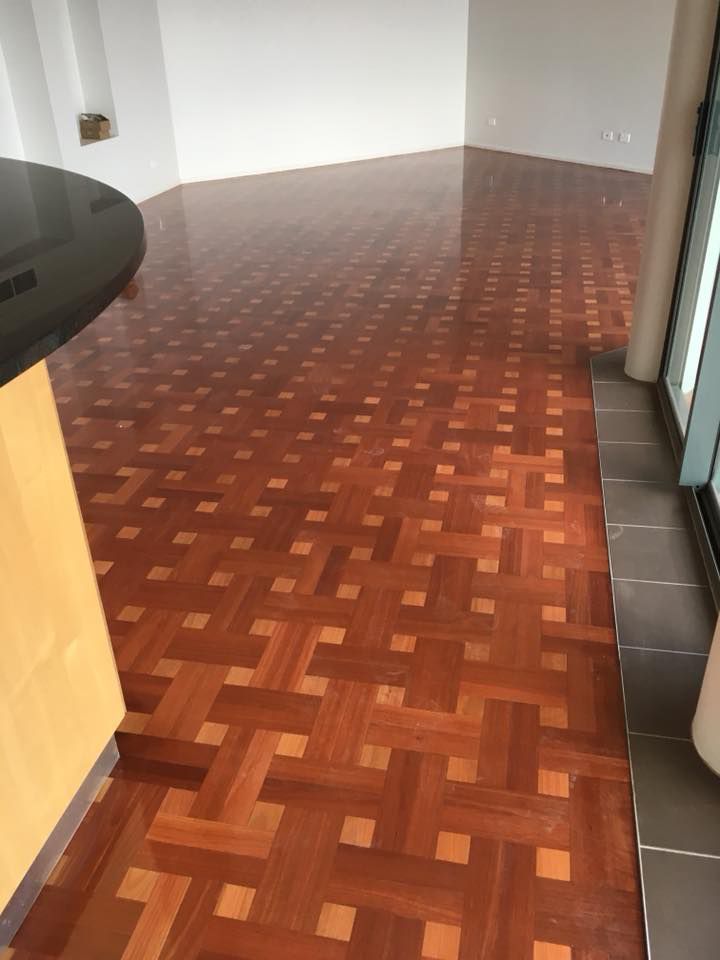
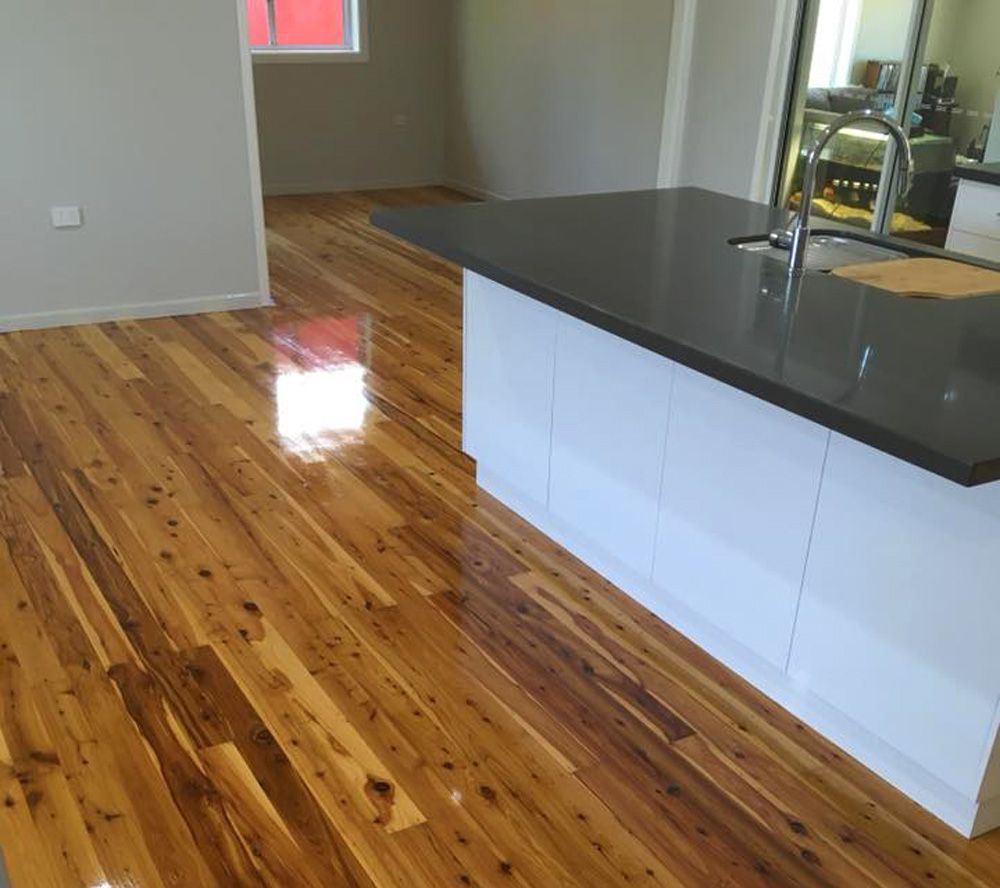
- Enhanced Aesthetics: Floor sanding removes scratches, stains and wear marks, giving your floor a renewed appearance. It brings out the natural colour and grain of the wood, making it look brand new.
- Improved Durability: Sanding eliminates uneven surfaces and levels out the floor, making it more resistant to future wear and tear.
- Healthier Indoor Environment: Sanding removes accumulated dust, allergens and bacteria that may be trapped in the old finish or damaged areas of the floor.
- Increased Property Value: A well-maintained, sanded floor adds value to your property and makes a positive impression on potential buyers or tenants.
When Is Floor Sanding Necessary?
- Worn-Out Finish: If your floor's finish is dull, scratched or damaged, it's a sign that sanding may be required.
- Visible Stains: Stubborn stains that are difficult to remove may necessitate sanding to eliminate them completely.
- Uneven Surfaces: If your floor has uneven areas, gaps or warped boards, sanding can help level them out.
- Refinishing: When you want to change the colour or finish of your floor, sanding is essential to prepare the surface for the new treatment.
The Floor Sanding Process Explained
The floor sanding process involves several steps, each crucial to achieve a smooth and flawless result. Here's a breakdown of the typical floor sanding process:
Preparation
Before starting the sanding process, it's important to prepare the area:
- Clear the Room: Remove all furniture, rugs and objects from the room to provide ample space for sanding.
- Repair Damaged Areas: Fix any damaged boards, fill gaps and address structural issues before sanding.
- Cover Vents: Seal off air vents to prevent dust from spreading throughout the building.
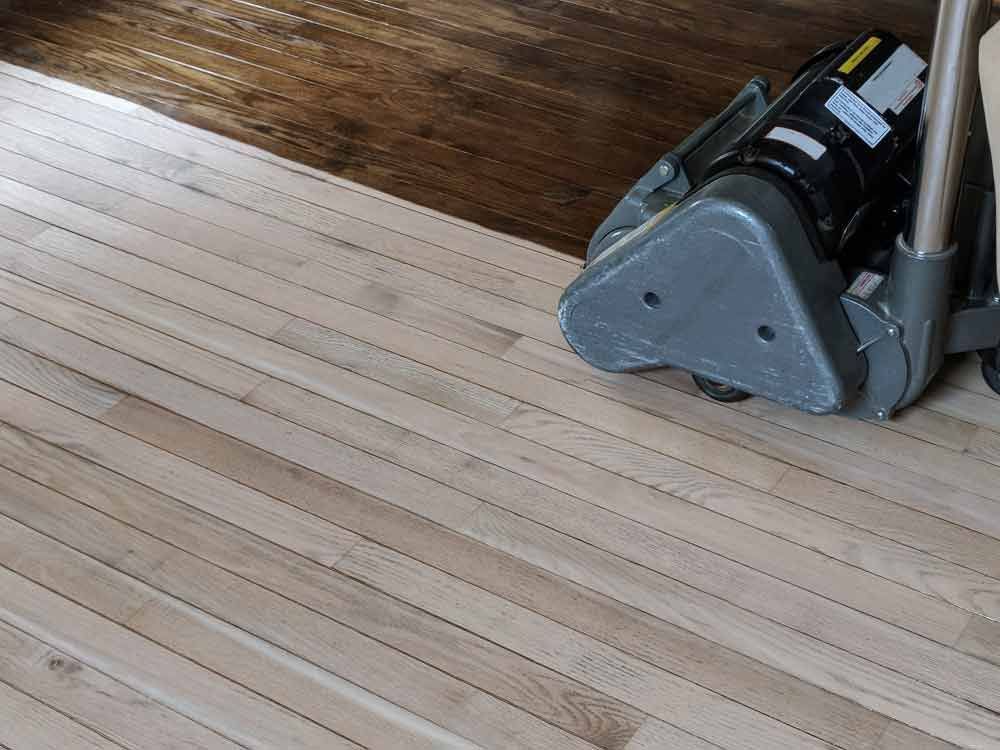
Sanding
- Coarse Sanding: Begin with a coarse-grit sandpaper to remove the old finish, deep scratches and imperfections. This process helps level the floor surface.
- Medium Sanding: Progress to a medium-grit sandpaper to further refine the floor's smoothness and eliminate any remaining scratches.
- Fine Sanding: Finish the sanding process with a fine-grit sandpaper to achieve a polished, smooth surface.
Floor Finishing
- Vacuuming: Thoroughly clean the sanded floor to remove all dust and debris.
- Applying Finish: Apply a suitable finish or sealant to protect the wood and enhance its appearance. Options include polyurethane, oil-based or water-based finishes.
- Drying Time: Allow the finish to dry completely before moving furniture back into the room or placing rugs on the floor.
Experience Exceptional Floor Sanding With Steve Jones Floor Sanding
When it comes to floor sanding, choose a reliable and skilled team to handle the job. At Steve Jones Floor Sanding, we pride ourselves on delivering exceptional services to our clients. With years of experience, our professionals will use the latest techniques and equipment to transform your worn-out floor into a stunning surface. Contact Steve Jones Floor Sanding today to discuss your floor sanding needs and receive a personalised quote.